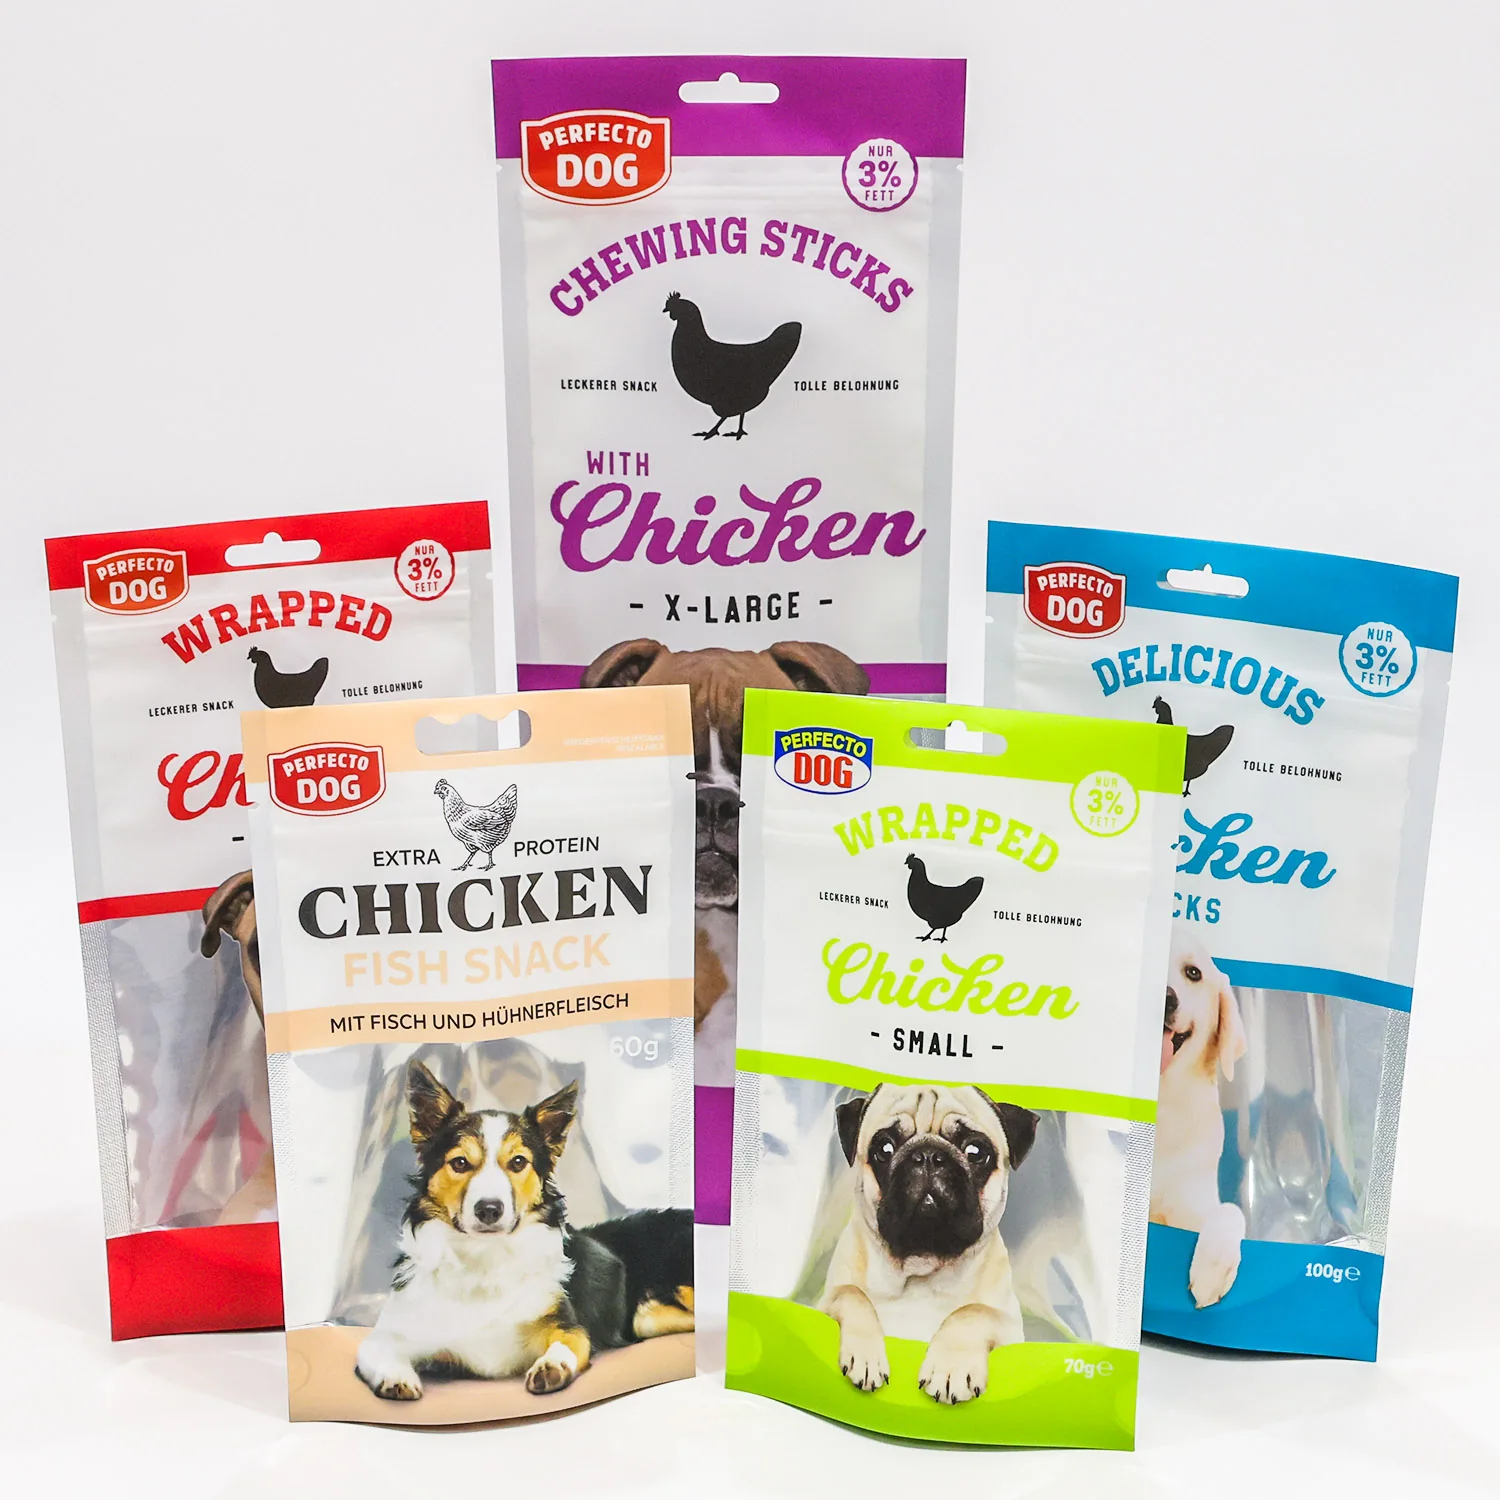
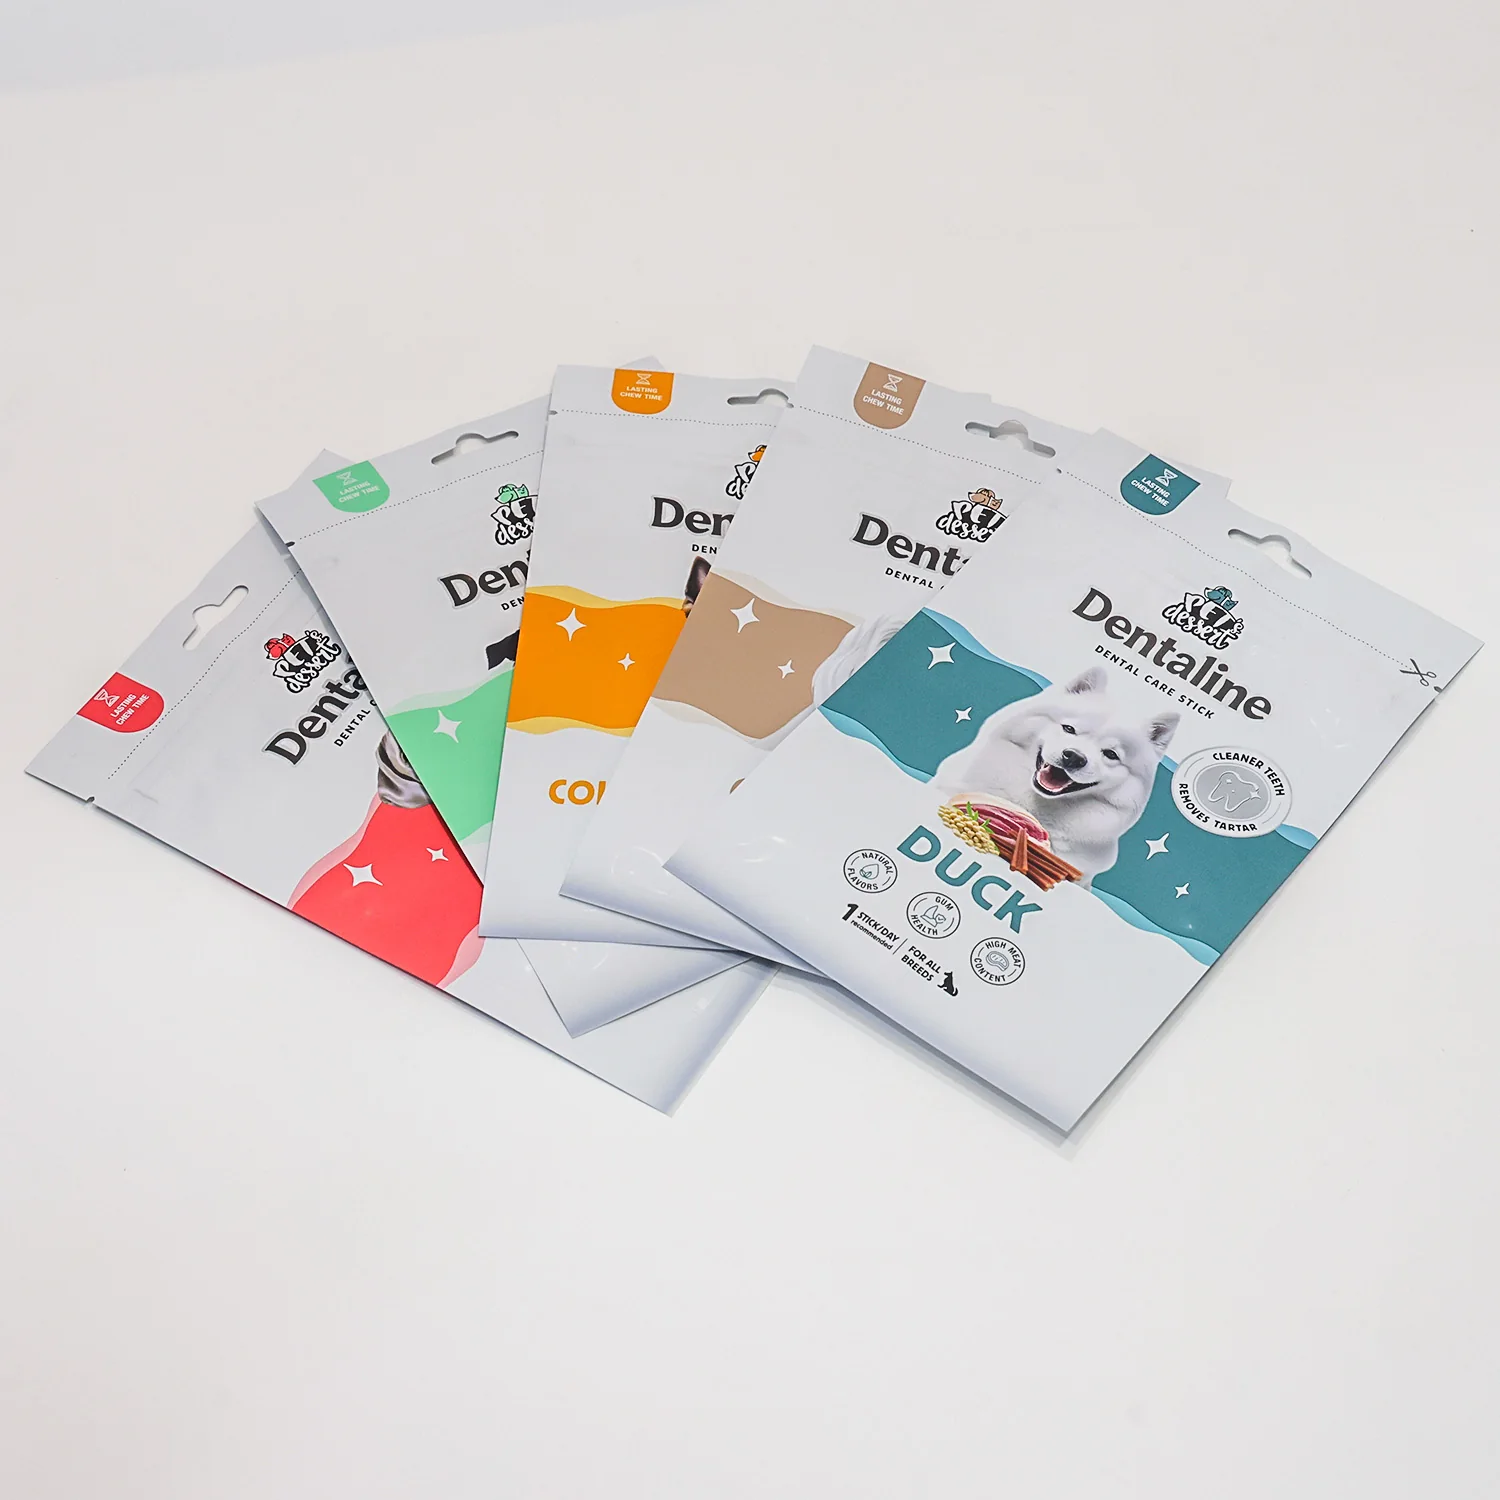
Choose the pouch by the way the treats are sold, displayed and opened. Bag shape comes first, but it does not settle capacity, shelf life or filling fit by itself.
Published 11 September 2026 • Pet treat packaging format guide
Before choosing: put a real filled pack or product sample at the centre of the brief. Treat shape, dust, surface oil, headspace and the opening sequence can change a sensible-looking pouch choice.
Start with the job the pack has to do
A stand-up pouch is usually the first format to compare when a dog treat SKU needs to face forward on shelf, stand after opening or serve a customer over several uses. A flat or three-side-seal pouch often makes more sense for compact portions, samples, multipack components or a product intended for peg display.
That is a starting point, not a shortcut. A 100 g pack of freeze-dried pieces and a 100 g pack of dense biscuits can occupy very different volumes. The filled pack, not the declared weight alone, tells the team how much headspace, base shape and opening width are needed.
Stand-up pouch example. The filled base and opening area both need room in the design brief.Flat pouch example. Plan the seal, opening and any hang-hole area before the panel artwork is final.
Where each pouch type earns its place
Decision point
Stand-up pouch
Flat / three-side-seal pouch
How it is sold
Useful when the filled pack must stand front-facing on a shelf or stay convenient through repeated use.
Useful for compact portions, samples, multipack components or a plan built around hanging display.
What design must allow for
Front and back panels, the bottom gusset, top seal, closure and a separate coding area.
Front and back panels, perimeter seals, tear area, hang-hole zone and a coding area that is not covered by product copy.
First questions for the supplier
Filled stance, headspace, opening width, closure placement and how the product behaves after filling.
Portion volume, display method, opening route, seal layout and whether a hang feature affects the usable panel.
What neither format decides
Final dimensions, material structure, shelf-life evidence, print approval, filling compatibility and destination-market requirements. These depend on the product and the completed packaging brief.
Do the panel plan before the artwork gets busy
Most artwork problems start after a design looks finished. A zipper, tear notch, heat seal, hang hole, window, barcode and date-code field all need physical space. On a smaller dog treat pouch, those areas can crowd the product name, feeding information and SKU details quickly.
Ask the designer to mark the front-facing panel, back information panel, opening route, feature positions and coding area on an early layout. A supplier still needs to provide the final dieline, but an annotated working layout avoids a late request to move a barcode away from a seal or squeeze a date code into an unsuitable corner.
What a useful quote brief looks like
Name the treat and describe anything relevant to handling, such as fragile pieces, dust, surface oil or irregular shapes.
State the intended net quantity and whether the item is a sample, a retail SKU, a multipack component or a larger family pack.
Share a filled reference pack, product photographs or measured dimensions where available.
Explain the selling route: shelf-facing, peg display, e-commerce, subscription or another format.
List the requested opening and convenience features, including zipper, tear notch, window or hang hole.
Provide the artwork status, SKU count and the areas needed for barcode and date or lot coding.
Include the destination market, expected quantity and filling information that is already known.
Use a sample to answer a specific question
Do not ask a sample to answer everything at once. Decide what the sample is meant to show. It might be the filled shape on shelf, the amount of headspace, how a zipper feels after opening, whether the hang hole sits clear of the tear path or whether the product enters the pouch comfortably. That keeps the next conversation focused and makes it easier to record what still needs technical confirmation.
Need to make the format visible first?
Use the 3D Packaging Designer to compare an early pouch shape, approximate proportions and requested features before you prepare the quote brief. It is a visual planning tool, not a production drawing.
Choose the first format, then make the open points visible
For an everyday retail treat bag, begin by comparing a stand-up pouch. For a compact portion or hanging pack, include a flat pouch in the first comparison. Then send the product, filled reference, artwork plan and feature list with the quote request. The Pet Treat Packaging page and the Pet Packaging FAQ can help with the broader product and ordering questions.
Questions buyers ask
When does a stand-up pouch make sense for dog treats?
Start with a stand-up pouch when the pack needs an upright shelf position or repeated opening. Confirm the filled shape, headspace, closure and artwork zones with the actual product before finalising the format.
When is a flat or three-side-seal pouch a better starting point?
A flat pouch is often a practical starting point for compact portions, samples, multipack components or planned peg display. The final choice depends on the treat, dimensions, seal layout, opening feature and selling route.
What should be decided before dog treat pouch artwork is final?
Mark the opening route, zipper or tear area, hang-hole zone, seals, barcode and date-code space before final artwork. These functional areas compete with brand and information panels, especially on a small pouch.
Can the 3D Packaging Designer approve a dog treat pouch?
No. The 3D Packaging Designer helps a team explain an early visual configuration. Final dimensions, materials, artwork and production feasibility require technical review and written confirmation.